Showing posts with label organizing. Show all posts

Sunday, February 28, 2016

10 DeClutter Tips


This is a room in my house, from a couple of years ago, when I had scarcely a moment to breathe. This room, like many of your rooms, became the catch all room; the room I could close the door and ignore. During this period of my life, so much was coming at me, that emotionally I could do little more than eat, sleep, work, and take care of my family the best I could. This room is a clear representation of how emotional clutter can manifest itself through physical clutter. So how did I attack this room? 
 By using several of the  10 DeClutter Tips
I was able to restore this room to it's natural order. 


10 DeClutter Tips

1.  Take one area and focus only on that area; it can even be a category.  For example, in my room, I took out all the boxes and either broke them down or put a couple aside to be used later for storage or give away.  Once that was done, I focused on a square foot under the window.

2.  Set aside time.  I had to schedule the time to get this task done......things that are scheduled normally get done. 

3.  Find homes for all the objects.  Many things in my room had homes, I just had not taken the time to put them there.  

4.  Make a decision. "Clutter is the result of delayed decision making".
Be willing to make a decision and quit hanging on to things.....just because. 

5.  Visualize the end goal.  Don't start anything without an end goal in mind.  My goal was to bring order to the room and to be able to vacuum the floor!

6.  Work in short spurts.  Working for about 25 minutes at a time, taking a timed 10-minute break, then working for another 25 minutes will help you not burn out so easily.

7.  Have supplies on hand......garbage bags, a box for items needing 
to be relocated and a box for items to donate.  

8.  Put on some music.  It feels more fun to have some music going.  
Snow White and the Seven Dwarfs had it right when they sang whistle while you work!

9.  Don't organize clutter. Organize and label only what is really necessary to keep. 

10.  Don't buy storage containers until you know exactly how much of something you are going to keep and where you are going to store it.  When you buy storage containers, you don't end up using, you have only added to the clutter. 

Now, figure out what area of your home is causing you the most stress and apply some of these tips.  

Today just might be your day for a new beginning!


252.670.2951


Monday, February 22, 2016

The One Thing You Need To Do To Get Organized

Ok.  Here it is.  The magic bullet you have all been waiting for.  You only have to do ONE thing to get organized.....just ONE!  

What do you think the ONE thing is?  Throw away all your stuff?  Buy cute bins, boxes and organizing tools?  Never buy anything?  Make sure your house looks like a magazine?  Spend all your free time organizing and cleaning?  

Well, as you can imagine it is none of those things.  So, what is it?  

DECIDE.  Yep, that 5 letter word......decide is the main thing you have to do to get organized.   Deciding begins in your mind and your mind controls your behavior. So, once you really decide, the behavior will follow.  

You have to:

Decide you are going to commit the time to get organized.
Decide you are going to commit the resources you need to get organized.
Decide what your goal is about getting organized.
Decide this is important enough to push through even when your motivation wanes. 
Decide to focus on keeping what you value.
Decide to let go. 
Decide what is important to you. 
Decide what you want others to deal with when you are gone.
Decide how you want to live your life - managing stuff or enjoying people. 

Once you decide, really decide, the rest begins to fall into place.  You are resolute in your pursuit and you will do whatever it takes to get to the place of organization and peace.

Are you ready to do the ONE thing?  Are you ready to DECIDE? 


Sunday, February 21, 2016

Helpful TO DO List/Not So Helpful TO DO List


Example of a NOT SO HELPFUL TO DO List:
Do taxes
Organize
Clean House
Buy gifts
Make calls

I see many a TO DO list that looks like the Not So Helpful TO DO List.  You will never be able to cross anything off that TO DO list.  It will feel and look like you never accomplish anything when in reality you are probably accomplishing a whole lot more than you realize.  Look at the example of the Helpful TO DO List and see if you can see the difference.

Example of a HELPFUL TO DO List:

              Gather donation receipts for taxes
              Organize kitchen utensil drawer
              Vacuum all rooms
              Order sweater for Mother’s Birthday
         Go to Target and get gift card for Sam’s birthday
Call Eye Doctor to reschedule appointment
         Call Sarah to see how she is feeling
         Call to schedule exterminator

The second list is a list of specific action steps you need to take.  When you look at the first list, you have to spend time figuring out exactly what step you have to take next.  When you look at the second list, your action steps are already in place.  The second list allows you to schedule your day more efficiently while crossing things off that dreaded TO DO list. 

Another option is to take the first list, do a brain dump, and put all the action steps needed for each item:

           Do taxes
         Gather donation receipts
         Calculate mileage
         Call Pharmacy for medication expenses summary
         Pull together home deductible expenses

         Organize
        Organize kitchen utensil drawer
        Clean out boy’s seasonal clothes
        Purge gift wrap
        De-clutter my shoes

Make your TO DO list work for you instead of just mindlessly writing down things TO DO.  Make your list actionable, easy to understand and easy to schedule. 

Let me know how you’ve changed your list and how it is working for you.  
I love hearing from you! 


Monday, January 25, 2016

Confessions of an Organizer: Closet Clean Out - The Final Results

This is the last post about my epic closet clean out.  

I don't post any before and after pictures on my website because I think they are unrealistic.  Anyone can get an area cleaned out for a period of time, but the most important thing about organizing any area is not to make it clean but to make it organized and functional.  If I have said it once, I have said it a thousand times - we don't live in magazines.  We live in houses where real people live, doing real life, so organize your closets, your home, and your life accordingly. 

With all that being said, I am posting my before and after of my closet clean out because I actually cleaned it out and organized it in a way that makes sense for me. 

BEFORE
AFTER

I have never been a person that wanted or needed matching hangers.  For some reason, I was ready to have my hangers look more cohesive.  I did not change them all but I changed most of my pants, dresses, jackets and coats.  The blouses and skirts are still on basic hangers with a few nice plastic hangers mixed in - not the hard plastic, white hangers, but the hangers that are found in department store hangers.  

I will say I don't love the hangers that have the "velvet" feel to them because I am one that will quickly pull something off a hanger and the "velvet" hangers won't allow for that.  


All the "stuff" is off the top of the closet shelf.  I realized it had just become a dumping ground because it was available, out of the way space.  
When you/I have an area that is a dumping ground it is usually because you/I don't want to make a decision about something so you just put it aside to deal with later and later never comes. 

I actually did the whole closet clean out about 1 month ago and it still looks just like this.  There may be one piece of clothing on the floor today, but that is it.  
When you have things organized in a way that makes sense to you and you have less to deal with, it makes it easier to maintain your space.  

There you have it.  My closet clean out.  

What questions do you have? 
What is keeping you from doing your closet clean out? 

I would love to hear how it is going and what problems or successes you are having! 

Did you miss the beginning of this process?  Here are the links to blogs showing how this whole thing transpired! 


Sunday, January 24, 2016

Confessions of an Organizer - Closet Clean Out - The Process

I showed you what my closet looked like prior to the clean out.
If you missed the first blog post, click on this link to see how all this began!  

In this blog post, I am going to show you what it looked like as I was organizing and talk (well, write) about the process I went through as I was doing the clean out.

Beware - it's not pretty!  
These are scuff marks on the walls in my closet.  
Who knows how they got there, but after 20 years, they just happen. 


In my first blog post, I talked about all the thread and sewing stuff I had.  
Here it is. Where in the world did all the pink thread come from?  


I pulled out all the drawers and drawer units from the closet.
By taking the drawers out of the closet, I could spread out and could clean the 
baseboards behind the units. (I will not show you a picture of the dust....ugh)


Stacks - short sleeve, long sleeve, workout shirts and workout pants.
I divided everything into categories, then went through each category and purged. 
It is much easier to make decisions when you have gathered all of one
category together to see what you really have.


Hangers - everywhere! 

See all the t-shirts in this picture? These are t-shirts that belong to my boys that
I am saving for a future project for them.  
I'm pretty sure they don't read this blog so I don't have to worry 
about ruining their surprise :) 
I had these t-shirts in bags on my closet floor and they were taking up 
valuable closet real estate. 


Did I mention there were a lot of hangers? 


My pile of give-away clothes.  
At least, 100 pieces of clothing that someone else can use!

I looked at each piece and realized many of them look cute
but don't look cute on me - t-shirts that are too short, jeans I no longer 
like the style, shirts in good shape, still cute, but don't fit, clothing I 
keep passing by day after day and never putting on to wear.

 I then went through my hanging clothes to make decisions about each piece. 
I really wanted to make sure if a piece of clothing made the cut 
that I was actually going to wear it and feel good in it.

                                               
 I could have kept this gem for sentimental reasons, but decided that 
season of my life has passed so it is time to let it go. 
 #VelourChristmasPajamas #instyleyearsago


This jacket may not look like much, but I paid a pretty penny for it, a long time ago.   
Divide the cost of the jacket by the number of years owned - the decision is then easy
to get rid of it.  This does not represent who I am or what I wear anymore! 

Remember - people come into your life for a reason, a season or a lifetime. 
The same can be said about the "stuff" that comes into your life. 
Don't hold onto anything that was only supposed to be in your life for a reason or a season. 
There are usually very few things you need for a lifetime. 

There you have it.  My process for de-cluttering my closet. 

Was it tiring? Yes

Was it overwhelming? Yes

Was it manageable? Yes

Was it easy? Parts of it

Were the decisions about what to get rid of easy?  Most of them

Was it worth it? YES

In my next Closet Clean Out blog post, I will reveal the finished product so stay tuned! 

The final blog post has been published - here it is:


Monday, March 2, 2015

The Next Step.......YOU Have To Take It

As I work with clients, as an organizer and a life coach, I find one consistent issue, not taking the next step.  Let me show you a little bit about what the next step looks like in my life and see if there is anything you can apply to your own life.  

The towel on the floor


Next step:  hang the towel up - time taken: 1 second


Husband's clean socks on the floor


Next step:  socks matched up and in the drawer - time taken:  3 minutes


Hair Dryer and Straightener on Bathroom Counter


Next step:  Put hair dryer and straightener in drawer (even without wrapping the cord or making it look beautiful!) - time taken:  2 seconds


I have a goal I want to reach this year and I have it written down.

(photo: freedigitalphotos.net/stuartmiles)


Next Step:  Schedule a few action steps that will help me reach my goal - 
Time taken: 5 minutes 
(photo:  freedigitalphotos.net/stuartmiles)


The biggest problem with next steps.....YOU have to take them.  No one else can take them for you.  You have to commit to doing what you have to do to get to where you want to be. 

Next Steps - the best way to reach your goals in life and in 
organizing your home. 
It takes less time than you think but it will take you less time if you do it now rather than taking all the next steps later.  


Monday, January 5, 2015

My New Project Organizing Tool


I have several different projects going on each year and I finally gave in and realized I am a paper project planner girl.  I have tried to plan projects digitally and it has not worked so I found this gem and I am so happy!  

This is the ARC system from Staples.  It is a notebook you can modify - adding pages, dividers, and other contraptions you might need to keep yourself organized.  It also allows you to buy bigger discs to enlarge the notebook, as your notes and project expand.  There are different colors to choose from but for this particular project I chose this oh so pretty pink! 

These are the pages that come with each notebook.

These are the "add ons" I put in my notebook to organize. 
I have pocket dividers for smaller papers and papers in which I don't want holes punched.  

Tab Dividers are essential for dividing your content into different categories. 


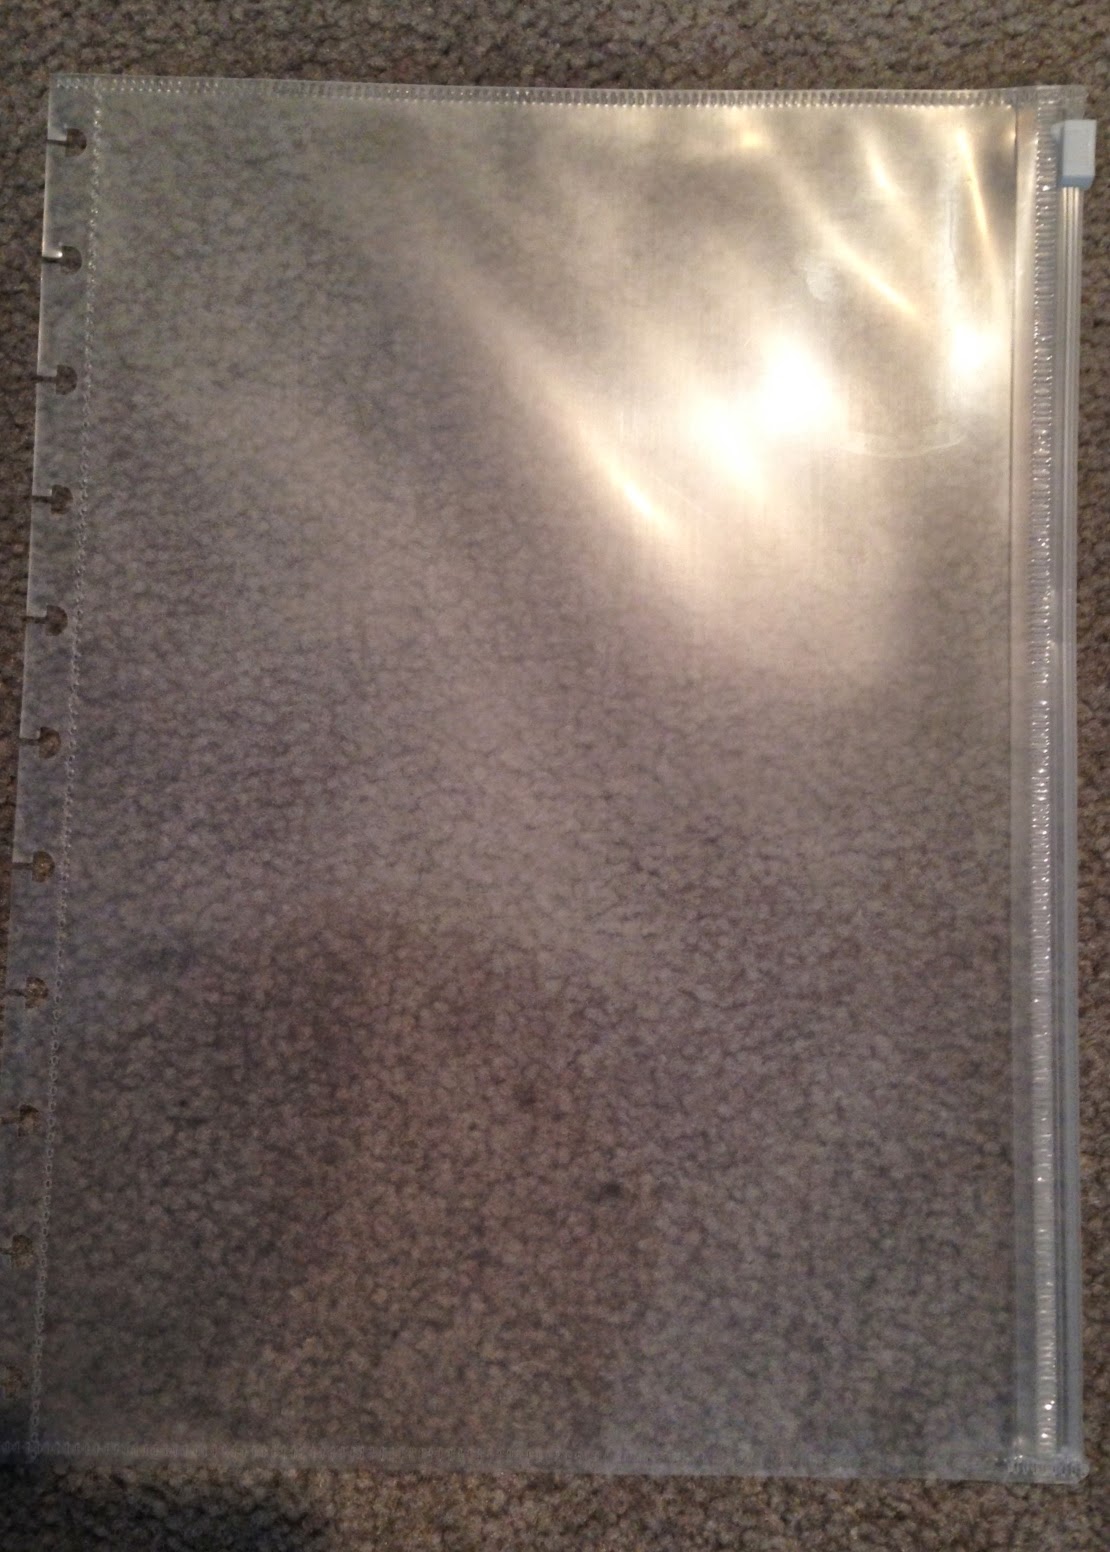
This zip pocket add on will be great for pens and other things that need to be contained. 


I printed out and added this calendar.  How did I add this calendar, you might ask? Well, look below and I will show you my secret!


First, I had to buy one of these specialized paper puncher things.  This is not your standard 3 hole punch.  The ARC system has 12 holes so you need the special 12 hole puncher.  Staples sells these, 
with the ARC system, but the cost of the one they 
sell is around $42.  I did not want to spend that much so I checked around and found this one sold by Levenger for $17!  It doesn't punch as many pieces of paper at one time but that was not an issue for me. 


So, I took my handy dandy new hole punch and punched the holes I needed into my calendar and inserted it into my oh so pretty pink notebook.  


Now I am all ready for my project planning in 2015.  


Friday, January 2, 2015

Taking Down the Christmas Tree and a Little More

The final step of Christmas "take down" is the tree.

The first step is to remove all the ornaments.  I lay a towel out so I can see them all on my oriental rug.....some of them can get lost in the pattern of the rug.  I sort them, on the towel, by kid's ornaments, fragile and non-fragile.  Then I start boxing them up.....wrapping the fragile ornaments in tissue paper and then placing them in a Ziploc bag.  The other ornaments are placed in their original boxes or in an ornament box I have.


Each of my children's ornaments is organized in their own box and labeled with their name. 
When the time comes, they will easily be able to take their ornaments to decorate their own tree.  

After the ornaments are all packed up snug in their beds, it is time to remove the lights from the tree.  
By this time you are ready to throw the lights in a box and be done but when you open that box next year, you will be sad you took that approach. 
I take each light strand and wrap them around these "wheels" I purchased several years ago.  
Each wheel holds 2-3 light strands.  They then fit nicely into their handy, dandy carrying case.  On top of the wheels, I place the cord that houses the "on/off" button for the lights. 


Then the tree goes out the door to where my Christmas elf takes it to dispose of in our woods in the back.  Therefore leaving me with mounds of pine needles to vacuum.  Years ago, I stopped up my regular vacuum cleaner by using it to vacuum up said mound of needles.  After that, I purchased my Shop Vac and it has done the job from that point on.  All that being said, no matter how much I vacuum, I will still be running into and finding pine needles in this room throughout the year......hard to get rid of those pesky needles! 


Here is the "and a Little More" part of the subject line.  In my last post I failed to tell you about my Christmas serving dishes and how I put them away.....so here
 is the rest of the story. 
Each of the dishes is wrapped in a Christmas Dish Towel to protect them while storing the Christmas towels......a two 
for one! 


AAAAAHHHH, finally the Christmas decorations are put away and stored safely in the attic.  And just like every single year, I walk downstairs celebrating and find the one.  There is always one decoration I seem to miss every single year, no matter how hard I try.......there is still ONE!  This year's winner......the pillow.


So I grab the pillow, put it in its place and then know I am done until next year, with the way time flies it will feel like next week. 

Now on to 2016!  Make it a great year!


Thursday, January 1, 2015

Taking Down Christmas Decorations - Step by Step

It is that time of year.....you have enjoyed the Christmas decorations but now it is time to take them all down.  

Here is a step by step process of how I attack my "take down".  Hopefully you will find something here you can use while putting your decorations away. 


 Gather all your "like" items together. Your "like" items will be boxed together so it makes it easier to attack one box at a time when you are putting them up this year and when you are ready to decorate again next year. 

 You can see, from the pictures below, the "like" items I have:  Santas/decorative items, stockings/pillows/tree skirt, Nativity sets, framed Christmas photos and plaques, dishes, books, window lamps, window greenery, bows and outdoor spotlights and cords.     


Then it is time to box each of the items into their "labeled" boxes.  I wrap the fragile items in tissue paper I reuse each year or tissue paper I keep from the pile left over on Christmas morning.  
The bulbs of the window lamps are separated into a ziploc bag to protect them.    


Each year, as part of my Christmas decorating, I use decorative ribbon tied to lamps and candlesticks. To store my decorative ribbon, I wrap several pieces around a toilet paper roll or a cut paper towel roll and secure the end with a paper clip.  I then store them in a ziploc bag to keep them fresh 
from year to year.  


Lastly I attack the tree.  That is in my next blog post.....so go get the decorations done then come back and read about "tree take down"!